Posted by JinPhoebe
on October 30, 2025
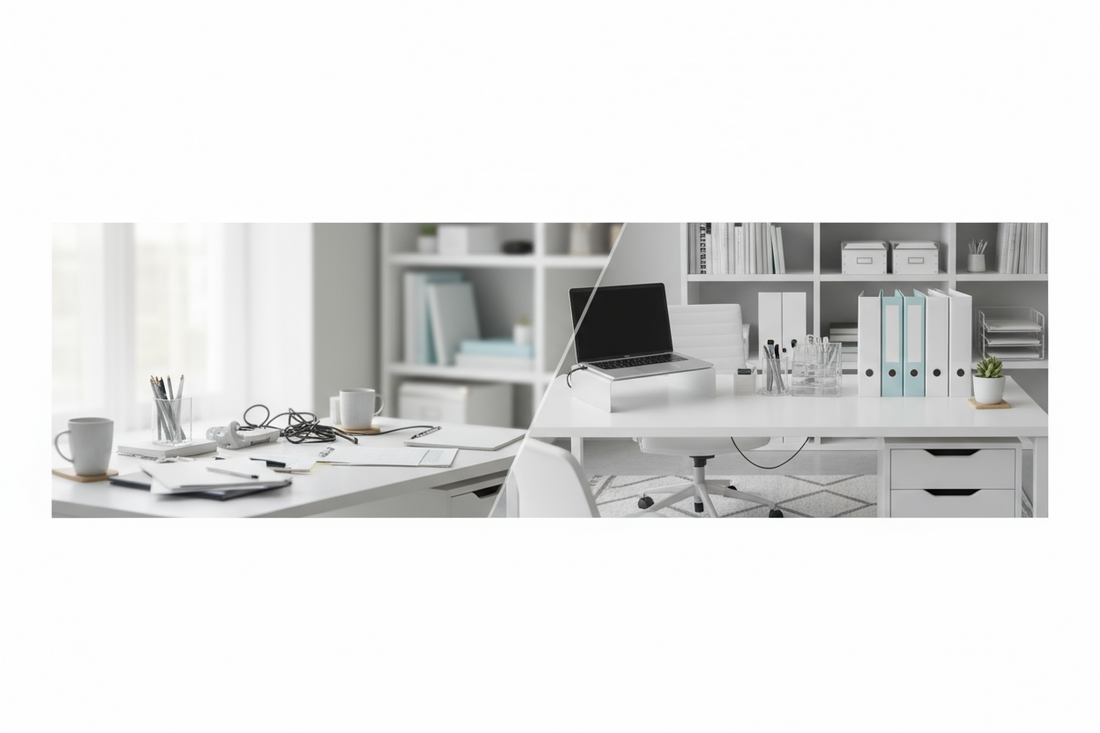
Let's be honest—if your workspace looks like a paper tornado just swept through, you're not alone. Many of us struggle with keeping our desks organized, and it can really affect how we work. The good news? You don't need a complete overhaul to get things under control. With just one week and a simple plan, you can transform your chaotic workspace into an organized, productive environment.
Why a One-Week Plan Works
You might be wondering why focus on just one week. Well, shorter timeframes tend to work better because they feel manageable. Instead of getting overwhelmed by a massive reorganization project, you can tackle one area each day. This approach helps you build momentum, and before you know it, you'll have created lasting habits that keep your space tidy.
Plus, when you break things down into daily tasks, you're more likely to stick with it. Each small win motivates you to keep going, and by the end of the week, you'll notice a real difference in how your workspace looks and feels.
Day 1: Assess and Declutter Your Desk
Start with the most visible area—your desk surface. This is where you spend most of your time, so it deserves some attention.
- Clear everything off: Yes, everything. It might seem extreme, but this gives you a fresh perspective on what you actually need within arm's reach.
- Sort thoughtfully: Create three piles—keep, donate, and discard. Be honest with yourself. That stapler you haven't used in six months? It can probably find a new home in a drawer or with someone who needs it.
- Give it a good clean: Once your desk is clear, wipe it down thoroughly. There's something refreshing about starting with a clean slate.
- Return only essentials: Put back only the items you use daily. Your computer, a notepad, a pen or two, and maybe your favorite coffee mug. Everything else can find a home elsewhere.
Day 2: Organize Your Digital Workspace
Your physical desk might look great, but what about your digital one? A cluttered computer can be just as stressful as a messy desk.
- Tackle your desktop: If you can't see your wallpaper because of all the icons, it's time for a cleanup. Move files into organized folders and clear out your downloads folder while you're at it.
- Create a logical system: Set up folders that make sense for how you work. You might organize by project, client, or date—whatever helps you find things quickly.
- Email management: Unsubscribe from newsletters you never read. Set up folders for different types of emails and create filters to automatically sort incoming messages. Your future self will thank you.
Day 3: Tackle Drawers and Storage
Now that your surfaces are looking good, let's address what's hiding in those drawers.
- Empty everything out: Just like with your desk, start with a clean slate. You might be surprised by what you find lurking in there.
- Use organizers: Drawer dividers and small containers can help keep similar items together. This makes it easier to find what you need and maintain order.
- Assign purposes: Designate each drawer for a specific category—one for office supplies, another for personal items, and so on. This prevents the dreaded "junk drawer" situation.
- Label if needed: If you share your space or just want extra clarity, labels can be helpful reminders of where things belong.

|
| Sweetcrispy drawer organizer removable for office |
Day 4: Optimize Your Office Supplies
Let's talk about those pens, sticky notes, and paper clips that seem to multiply overnight.
- Take inventory: Gather all your supplies from various hiding spots. You might discover you have five staplers or twenty dried-up markers.
- Quality over quantity: Toss pens that don't work and supplies that are past their prime. Keep only what you actually use.
- Create a supply station: Designate a specific area for frequently used items. This could be a desk organizer, a drawer, or a small caddy.
- Set up a system: Decide how you'll restock supplies when they run low. This prevents last-minute scrambles when you need something important.
Day 5: Create Functional Zones
Think about how you use your workspace throughout the day. Different tasks often work better in different areas.
- Designate task areas: You might have a computer zone, a paperwork area, and a space for meetings or creative thinking. Arranging your space this way can help you stay focused.
- Optimize your layout: Position your furniture and equipment to support your workflow. Your most-used items should be within easy reach.
- Set up a filing system: Whether you prefer physical folders or digital files, create a system that makes sense for your important documents.
- Implement an inbox/outbox: This simple system helps you manage incoming and outgoing items, so nothing gets lost in the shuffle.

|
| Sweetcrispy Filing Cabinet, 3 Drawer Rolling for Offices |
Day 6: Establish Daily Routines
Organization isn't a one-time event—it's about creating habits that stick.
- End-of-day cleanup: Spend just five minutes at the end of each day tidying up. Put things back where they belong, file papers, and prepare for tomorrow.
- Morning setup: Start your day by reviewing your priorities and making sure your workspace is ready for productive work.
- Weekly maintenance: Schedule a bit of time each week to do a deeper cleanup and reassess your system.
- Use reminders: Set up calendar alerts or phone reminders to help you stick to your routines until they become automatic.
Day 7: Review and Refine
Congratulations—you've made it through the week! Now it's time to see how everything's working.
- Evaluate honestly: What parts of your new system are working well? What feels awkward or isn't quite right?
- Make adjustments: Don't be afraid to tweak things. Organization is personal, and what works for someone else might not work for you.
- Document your system: Take photos or write notes about your setup. This helps you maintain it and can inspire you if things start to slip.
- Plan for the future: Think about how you'll keep this going. What will you do differently to prevent falling back into old habits?
Maintaining Your Organized Space
Getting organized is one thing—staying that way is another. Here are some tips to help you maintain your newly organized workspace:
- Be realistic: Your system should fit your natural habits, not fight against them. If you tend to pile papers, create a designated spot for that pile.
- Regular check-ins: Set aside time monthly to reassess and reorganize as needed. Your needs might change, and your workspace should adapt.
- One in, one out: When you bring something new into your workspace, consider removing something old. This helps prevent clutter from building up again.
- Celebrate progress: Notice how much easier it is to find things and focus on your work. These improvements can boost your productivity and reduce stress.

|
| Storage Organizer, Open Cube Storage Bookcase with 3 Removable Back Panels |
The Impact of an Organized Workspace
An organized workspace can influence more than just how your desk looks. Many people find that when their physical space is in order, their mind feels clearer too. You might notice you're spending less time searching for things and more time actually getting work done.
Plus, there's something satisfying about sitting down at a clean, organized desk each morning. It sets a positive tone for your day and can help you feel more in control of your workload.
Remember, storage organization looks different for everyone. What matters is finding a system that works for you and helps you do your best work. Give yourself grace as you figure out what that looks like, and don't be afraid to adjust as you go.
Your workspace should support you, not stress you out. With this one-week plan, you're well on your way to creating an environment that helps you thrive.